Veeam saves the day!
This past weekend I was faced with a challenge of moving from an old unsupported SAN on a 3.5 deployment to a new supported SAN and a new 4.1 deployment. I was in dire need for a quick solution for migrating data from one SAN to another. Some would say, “Just use Storage vMotion to move the VMs from the old storage to the new.” I get that, but, I was unable to utilize that feature because the old deployment was not licensed for it.
In comes Veeam Backup & Replication to save the day.
The deployment was a small deployment, around 20 VMs. The solution I ended up with was using the VM Copy functionality to copy the VMs from the old SAN to the new SAN. Once the data was copied over, I added the VMs to inventory, upgraded VMware Tools, and then upgraded Virtual Hardware. Powered everything up and viola…migrated VMs now running in 4.1 on the new SAN.
Using the VM Copy function was extremely easy to get setup and started. The steps that I took to get it moving were:
- Install Veeam Backup & Replication
- Add old VirtualCenter Server in order to access old SAN VMFS Datastores
- Add new vCenter Server in order to access new SAN VMFS Datastores
- Configure a VM Copy Job
- Sit back and relax while Veeam did the work
I won’t go into detail on how to install Veeam as this is covered in many places online. I will, however, go through the steps on creating the VM Copy Job.
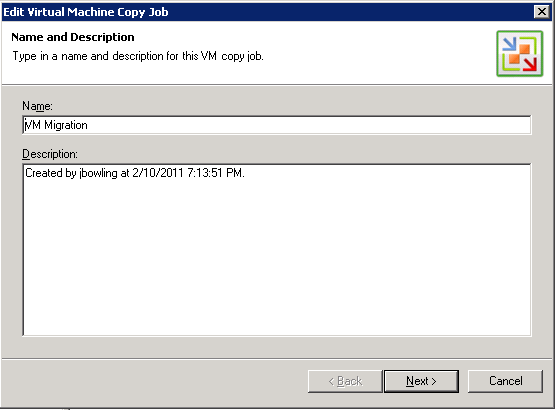
The first step was to configure the VM Copy Job, as seen here:
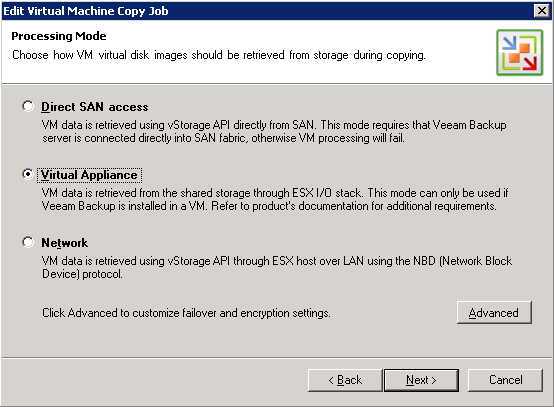
After clicking Next you will be asked what Processing Mode you will be using. In my particular case, I had Veeam installed on a VM and so I picked Virtual Appliance Mode with Network Failover.
The next step in this simple process is to add the VMs that you want to copy. This is a pretty self explanatory step, here is what you should see:

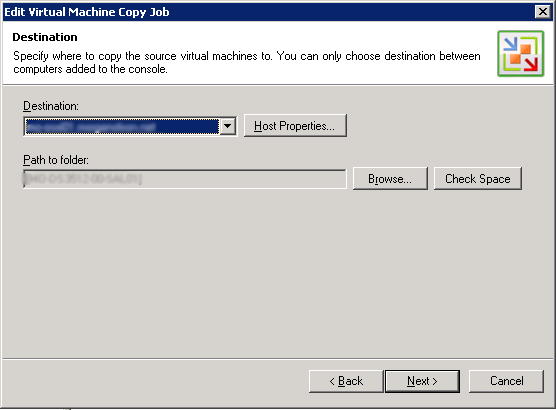
After adding the VMs you will be asked for a destination. This, of course, will be your new SAN and new hosts. Just select the host and datastore you want to copy the VMs into.
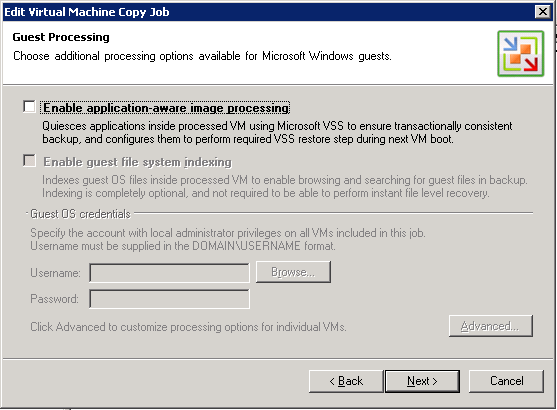
After adding the VMs that you want to copy with this job, you will continue on and be presented with a screen that will ask you if you want to use VSS in the VM to get a transactional consistant copy. In my particular case, I had a maintenance window for the downtime of the VMs so I powered them down to do the copy, therefore, I didn’t select anything.
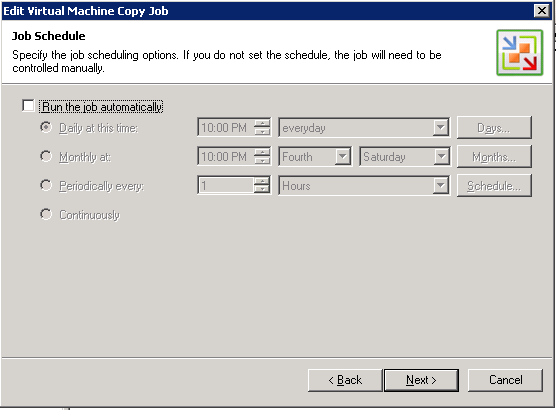
The final configuration step is to determine if you want to schedule it to run automatically or not. This can come in handy if you want to have the job start after hours when you won’t be in front of a machine. In my case, I was sitting right in front of my machine at home.
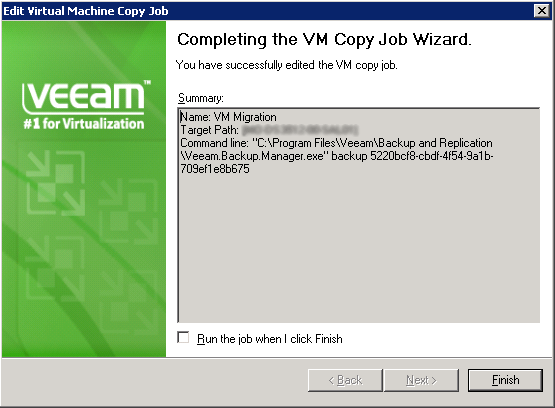
And the finale, you are now one click away from having Veeam do some work for you. Just click Finish or select the checkbox to run the job as soon as you click Finish.
Pretty simple process and it definitely made it easy for me to get around the typical tools you would use to do a migration such as Storage vMotion and VMware Converter. Once you have the VMs over you can then browse your datastores and add the VMs to inventory. In this instance, I had to upgrade VMware Tools and upgrade the virtual hardware to complete the process. Confirmed everything was working as normal and called it a day! Thanks Veeam for saving the day yet again!
You can download a trial of Veeam Backup & Replication direct from Veeam’s Website!
If you have any questions or comments then please feel free to post up in the comments!